
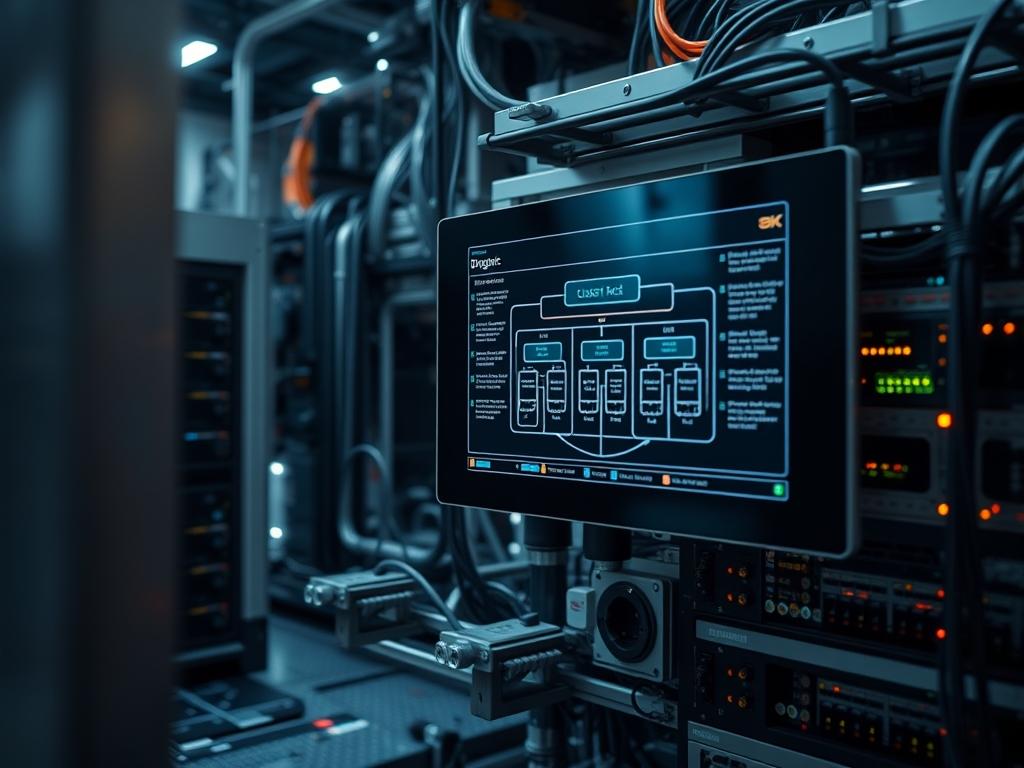
In the architecture of modern enterprise cloud environments, CloudStack VLAN Tags serve as the primary mechanism for logical isolation and multitenancy across shared physical hardware. Without appropriate segmentation, broadcast domains expand unchecked; this leads to severe network congestion and increased latency. In environments such as high-density data centers or utility-grade infrastructure monitoring, the ability to partition traffic is critical for maintaining high throughput and minimizing packet-loss. CloudStack facilitates this through the IEEE 802.1Q standard, allowing multiple virtual networks to traverse a single physical interface via encapsulation. This Technical Manual addresses the problem of complex network sprawl by providing a structured protocol for managing VLAN ranges. It ensures that the payload of each virtual machine remains isolated within its assigned security zone. By implementing rigid tag management, administrators can achieve idempotent network deployments where the addition of new tenants does not perturb the stability of existing logical constructs.
TECHNICAL SPECIFICATIONS
| Requirement | Default Port/Operating Range | Protocol/Standard | Impact Level (1-10) | Recommended Resources |
| :— | :— | :— | :— | :— |
| Management Server | TCP 8080 / 443 | Java 11 / 17 | 10 | 4 vCPU, 8GB RAM |
| Hypervisor (KVM) | VLAN IDs 1 – 4094 | 802.1Q / Linux Bridge | 9 | 1GB dedicated for Net processing |
| Database Node | TCP 3306 | MySQL / MariaDB | 8 | SSD for low-latency I/O |
| Physical Switch | Trunk Mode Enabled | IEEE 802.1Q | 10 | Non-blocking backplane |
| MTU Settings | 1500 or 9000 (Jumbo) | Ethernet Frame | 7 | Category 6a or higher cabling |
THE CONFIGURATION PROTOCOL
Environment Prerequisites:
Successful implementation of CloudStack VLAN Tags requires specific infrastructure baselines. The management server must run Apache CloudStack version 4.11 or higher. All hypervisor nodes, particularly KVM or XCP-ng, must have the bridge-utils or openvswitch packages installed and active. User permissions must be at the Root or Global Admin level within the CloudStack UI. Furthermore, the physical switch infrastructure must be configured for trunking on all ports connected to the hypervisor pool; this allows the encapsulation headers to pass without being dropped at the ingress port.
Section A: Implementation Logic:
The engineering design behind CloudStack VLAN tagging relies on the mapping of Physical Networks to logical Guest Networks. When a CloudStack Zone is created, the administrator defines a Physical Network that can carry various traffic types: Management, Guest, Public, and Storage. The “Tag” is a descriptive string or ID used to identify which physical interface on the hypervisor should handle specific traffic. This logic reduces overhead by ensuring that the kernel bridge does not have to process every packet on every interface. Instead, the 802.1Q header is inspected; the packet is then routed to the corresponding virtual bridge. This design maintains high concurrency while ensuring that signal-attenuation at the physical layer does not result in logical cross-talk between tenants.
Step-By-Step Execution
1. Initialize the Physical Network Interface
Access the hypervisor terminal and ensure the physical interface is up without an IP address. Use the command ip link set eth0 up.
System Note: High-level network orchestration requires the physical interface to be in a “PROMISC” or “UP” state without a static IP to allow the CloudStack bridge controller to attach virtual interfaces. This prevents local IP stack interference with the tenant payload.
2. Define the VLAN Range via CloudStack API
Utilize the cloudstack-api tool or the cmk command-line utility to allocate a specific range of IDs. The command syntax is addVlanIpRange vlan=100-200 zoneid=
System Note: This command updates the CloudStack database schema, specifically the vlan and user_ip_address tables. It ensures that the allocation is idempotent: running the command again will not duplicate entries but will return the existing configuration state.
3. Configure the Bridge on Hypervisor Nodes
For KVM environments, check the existing bridges using brctl show. To manually verify the VLAN tag attachment to the bridge, use ip link add link eth0 name eth0.100 type vlan id 100.
System Note: This instructs the Linux kernel to create a sub-interface. The kernel driver handles the 802.1Q encapsulation, stripping the tag upon delivery to the virtual machine and adding it during transmission to the physical wire.
4. Update the cloud.conf for Persistent Tagging
Edit the agent configuration file located at /etc/cloudstack/agent/agent.properties. Ensure the variable network.bridge.type=native or network.bridge.type=openvswitch is correctly defined. Restart the service using systemctl restart cloudstack-agent.
System Note: The systemctl command reloads the agent logic-controllers. This is a critical step to ensure that any changes made to the VLAN tagging logic are pushed to the underlying libvirt service and the host network stack.
5. Validate Traffic Flow and Latency
Execute a packet capture on the bridge interface using tcpdump -i brvlan-100 -nn -e vlan.
System Note: The -e flag is essential as it displays the 802.1Q headers. This allows the auditor to verify that the 4-byte overhead is present and that the packets are correctly routed through the designated tag range, preventing packet-loss.
Section B: Dependency Fault-Lines:
A common installation failure occurs when the MTU (Maximum Transmission Unit) is inconsistent across the path. If the physical switch expects a 1500-byte frame and the encapsulation adds an 802.1Q header without a corresponding reduction in the payload size, fragmentation or packet-loss will occur. Another bottleneck is the “Bridge-Netfilter” module in the Linux kernel. If /proc/sys/net/bridge/bridge-nf-call-iptables is set to 1, all bridged traffic is sent to the IPTables chains; this can significantly increase latency and CPU overhead during high-concurrency traffic spikes.
THE TROUBLESHOOTING MATRIX
Section C: Logs & Debugging:
When a VLAN range fails to initialize, the Management Server log is the primary resource for fault analysis. The log is located at /var/log/cloudstack/management/management-server.log.
| Error String | Probable Cause | Resolution Path |
| :— | :— | :— |
| InsufficientVirtualNetworkCapacityException | VLAN range exhausted | Expand the tag range in the Zone settings. |
| Physical Network ID not found | Database mismatch | Sync physical_network table with API. |
| Bridge does not exist | Agent failed to create br | Check cloudstack-agent logs for permission errors. |
| VlanMismatch | Trunking disabled on switch | Verify switchport configuration via CLI. |
For deep-packet inspection and hardware-level troubleshooting, refer to the hypervisor host log at /var/log/cloudstack/agent/agent.log. If you identify a “Resource Busy” error, it typically indicates that a vlan_tag is already assigned to a different bridge; use modprobe -r 8021q && modprobe 8021q to reset the module state if the logic-controller becomes unresponsive.
OPTIMIZATION & HARDENING
Performance Tuning requires the adjustment of the kernel’s network ring buffers. Use ethtool -G eth0 rx 4096 tx 4096 to maximize the buffer size. This reduces the likelihood of dropped frames during high throughput bursts. For thermal efficiency, ensure that the hypervisor’s CPU governor is set to “Performance” mode; this prevents clock-speed fluctuations that could introduce jitter into the packet-processing pipeline.
Security Hardening involves the enforcement of rigid firewall rules at the VR (Virtual Router) level. You must ensure that administrative access to the Management Network is restricted to specific CIDR blocks. Use the cloud-sysv6xx system VMs to audit traffic flows. Furthermore, implement “VLAN Trunking Restricted” policies on the physical switch ports to ensure that only authorized VLAN tags can enter the infrastructure.
Scaling Logic: As the cloud grows, the VLAN ID space (1-4094) may become a limitation. To maintain scalability under high load, consider transitioning to VXLAN (Virtual Extensible LAN). VXLAN uses a 24-bit identifier, which vastly increases the available network segments while encapsulating the payload inside a UDP packet; this eliminates the limitations of the traditional 12-bit VLAN tag space.
THE ADMIN DESK
How do I reclaim an unused VLAN tag?
Execute the deleteVlanIpRange command through the API. This process is idempotent; it ensures all associated IP addresses are returned to the pool and the database records are purged from the vlan tables without affecting other active networks.
Why is my throughput lower on tagged networks?
The 802.1Q encapsulation adds a 4-byte overhead to every frame. If the underlying hardware does not support hardware acceleration for VLAN tagging, the CPU must process these headers, which increases latency and reduces overall network throughput during peak load.
Can I mix different tag ranges in one Pod?
Yes. You can assign different VLAN ranges to different Physical Networks within a single Pod. This is useful for separating Public traffic from internal Guest traffic, provided that the physical switch ports are configured to allow all relevant tags.
What causes a “Timed Out” error during VLAN creation?
This usually indicates a communication failure between the Management Server and the Agent. Check for firewall blocks on port 8250 or verify if the cloudstack-agent is running on the target hypervisor using the systemctl status command.
How to verify VLAN persistence after a host reboot?
CloudStack agents are designed to reconstruct the necessary bridges upon startup based on the database state. To ensure persistence, check that the bridge-utils are installed and that the infrastructure configuration in the CloudStack UI is correctly saved and non-conflicting.